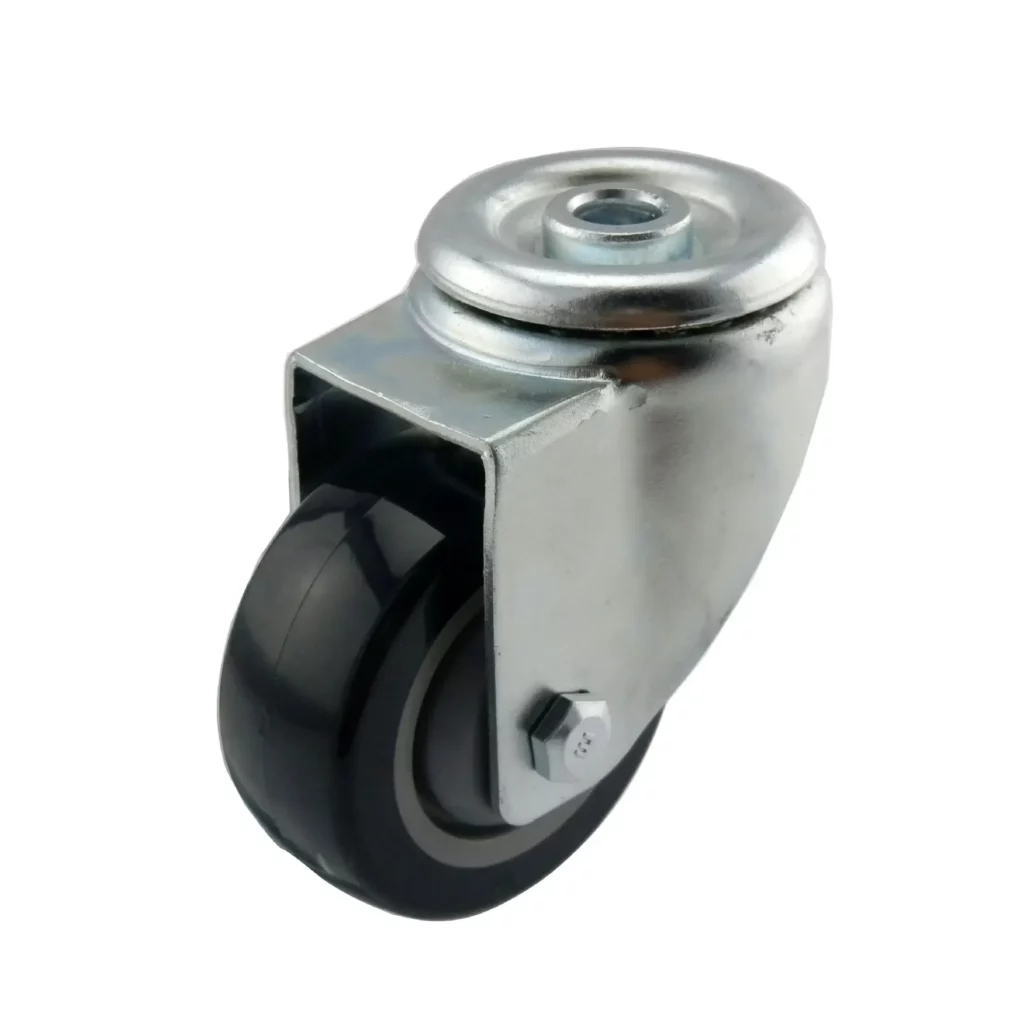
I. What Caster Wheel Mounting is Important
Proper installation of casters is crucial for ensuring smooth and efficient movement of various equipment and furniture. Whether you’re dealing with industrial machinery, офисные стулья, or heavy-duty carts, understanding the different installation methods for casters is essential to ensure their stability, functionality, and longevity.

In this article, we will explore five key installation methods for casters, namely Bolt Hole, Circlip, Thread Stem, Swivel Plate, and Expansion Rod. By gaining insights into these installation techniques, readers will be equipped with the knowledge to choose the most appropriate method for their specific needs, ensuring optimal performance and safety.
II. Bolt Hole Installation Caster
Definition and basic concept
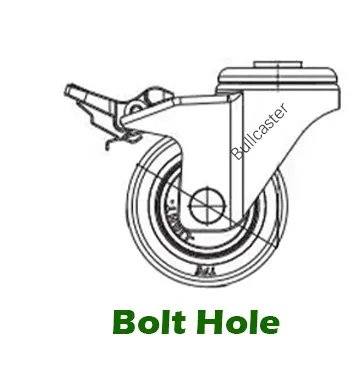
Bolt hole installation is a common method of installing casters where a caster is attached to a surface using a bolt that passes through a pre-drilled hole. The caster is secured in place by tightening a nut on the opposite side of the surface. This installation method provides stability and durability, making it suitable for various applications.
Benefits and considerations
– Stability: This method provides a sturdy and secure attachment, minimizing caster movement and maintaining stability during use.
– Load-bearing capacity: Bolt hole installation allows for the distribution of heavy loads, making it suitable for applications requiring high weight-bearing capabilities.
– Durability: The bolt and nut assembly provides a strong connection that can withstand repeated use and heavy impacts.
Considerations for bolt-hole installation:
– Surface integrity: Ensure that the surface material can accommodate the drilling process and withstand the load-bearing requirements.
– Proper alignment: Accurate alignment of the caster during installation is crucial for optimal performance and preventing unnecessary strain.
– Accessibility: Consider the ease of accessing the bolt and nut for future maintenance or replacement needs.
Suitable applications
Bolt hole installation is commonly used in various applications, including:
– Industrial equipment: Machinery, carts, and racks in manufacturing plants and warehouses often require bolt-hole installation for secure and stable movement.
– Heavy-duty мебель: Bolt hole installation is suitable for attaching casters to heavy furniture pieces, such as workbenches, storage cabinets, and tool chests.
– Material handling: Carts, dollies, and trolleys used for transporting heavy loads benefit from the stability and load-bearing capabilities of bolt-hole installation.
Tips for successful bolt-hole installation
– Accurate measurements: Take precise measurements of the caster’s mounting plate and the surface to ensure the hole is drilled at the correct size and depth.
– Quality hardware: Use high-quality bolts, nuts, and washers suitable for the intended load-bearing requirements to ensure a secure and durable installation.
– Tightening torque: Use a torque wrench or appropriate tools to tighten the nut with the recommended torque value, ensuring proper clamping force without damaging the components.
– Regular inspections: Periodically inspect the bolt and nut assembly for any signs of loosening or wear. Retighten as necessary to maintain a secure connection.
III. Casters Circlip Installation
Definition and basic concept
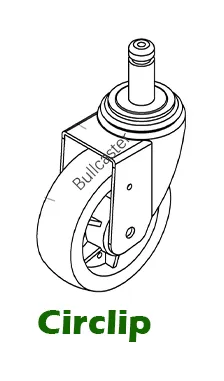
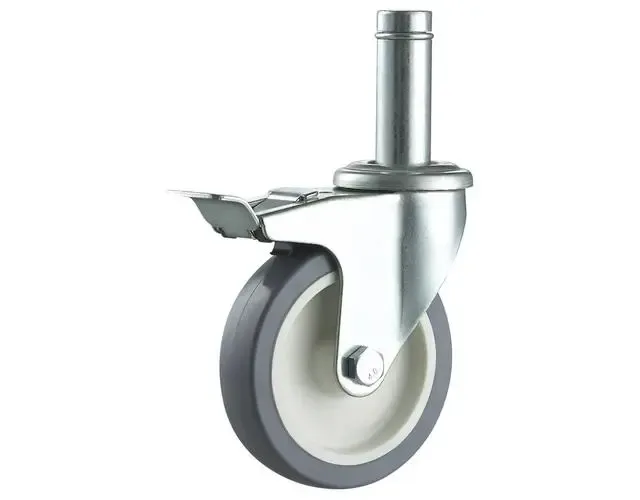
Circlip installation is a method of attaching casters using circlips, also known as retaining rings. Circlips are circular metal fasteners with small protrusions that fit into grooves or recesses on the caster’s mounting plate. This installation method offers secure attachment while allowing for easy removal or replacement of the caster when needed.
Benefits and considerations
Circlip installation offers several benefits:
– Easy removal and replacement: Circlips allow for simple removal and replacement of casters, making it convenient for maintenance, repairs, or reconfiguration of equipment.
– Secure attachment: When properly installed, circlips provide a secure and reliable attachment, preventing the caster from accidental dislodgement.
– Cost-effective: Circlip installation is generally more cost-effective than other installation methods, as it requires fewer components and tools.
Considerations for circlip installation:
– Groove compatibility: Ensure that the caster’s mounting plate is designed with suitable grooves or recesses that accommodate circlips.
– Groove size and depth: Verify that the size and depth of the grooves match the specifications of the circlip to ensure a proper fit.
– Application-specific limitations: While circlip installation is suitable for many applications, it may not be ideal for сверхмощный or high-impact environments where other installation methods may provide better stability.
Suitable applications
Circlip installation is commonly used in various applications, including:
– Office furniture: Chairs, desks, and cabinets often employ circlip installation for easy maneuverability and occasional caster replacement.
– Light-duty carts and trolleys: Circlip installation is suitable for light-duty applications, such as serving carts, display racks, and mobile shelving units.
– Residential furniture: Circlip installation can be found in residential furniture with casters, including movable tables, carts, and chairs.
Tips for successful circlip installation
– Correct circlip size: Ensure that you select the circlip size that matches the groove dimensions specified for your caster’s mounting plate.
– Proper circlip orientation: Pay attention to the correct orientation of the circlip, ensuring that the protrusions align with the groove for a secure fit.
– Circlip installation tool: Consider using a Circlip installation tool or pliers specifically designed for Circlip installation to ensure smooth and efficient placement.
– Regular inspections: Periodically inspect the circlip and its engagement with the mounting plate to ensure that it remains secure and properly seated.
IV. Stem Mount Casters
Definition and basic concept
Thread stem installation involves attaching casters to equipment or furniture using a threaded stem that screws into a corresponding threaded insert or socket. The threaded stem typically has a threaded rod with a flat or rounded end, while the insert or socket is a threaded hole designed to receive the stem. This installation method provides a strong and secure connection.
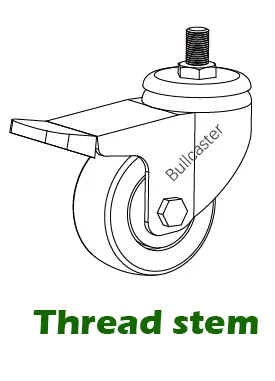
Description of the process
1. Identifying the threaded insert: Determine the location on the equipment or furniture where the threaded insert or socket is to be installed. This may involve drilling a hole if one is not already present.
2. Preparing the threaded stem: Ensure that the threaded stem on the caster is clean and free from any debris or damage. If necessary, lubricate the threads lightly to facilitate smooth installation.
3. Aligning the stem with the insert: Align the threaded stem with the threaded insert or socket. Begin by inserting the stem into the hole or socket and turning it clockwise to start threading it in.
4. Screw in the stem: Continue turning the stem clockwise until it is fully threaded into the insert or socket. Apply even pressure to ensure a secure and tight fit.
Benefits and considerations
Thread stem installation offers several benefits:
– Stability and strength: Threaded stem installation provides a strong and secure attachment, ensuring stability and withstanding regular movement and weight loads.
– Versatility: Threaded stems are available in various lengths, allowing for flexibility in the installation process to accommodate different furniture or equipment heights.
– Easy caster replacement: Threaded stems can be unscrewed and replaced easily, facilitating quick and hassle-free caster replacement when needed.
Considerations for thread stem installation:
– Thread Compatibility: Ensure that the thread size and pitch of the stem match the threaded insert or socket to ensure a proper fit.
– Load capacity: Confirm that the threaded stem and insert/socket combination can handle the expected weight and load requirements of the application.
– Thread engagement: Pay attention to the depth of thread engagement to ensure a secure connection without excessive protrusion or insufficient threading.
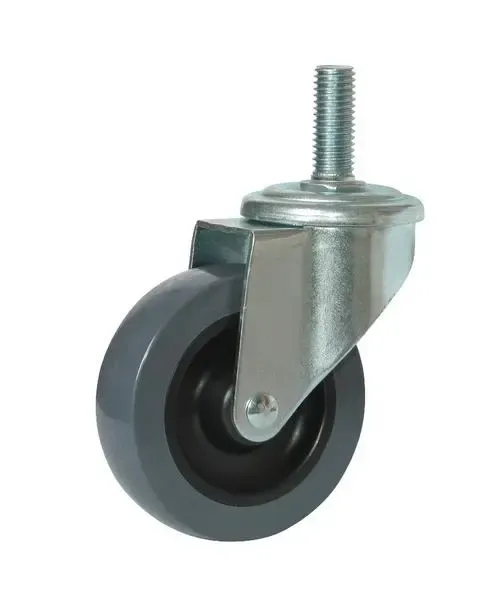
Suitable applications
Thread stem installation is commonly used in various applications, including:
– Office chairs: Many office chairs utilize thread stem installation to attach casters securely and allow for easy height adjustment.
– Mobile carts and equipment: Thread stem installation is suitable for mobile carts, stands, and equipment in medical facilities, laboratories, and hospitality environments.
– Retail displays: Thread stem installation is commonly employed in displays, racks, and shelving units to enable mobility and rearrangement.
Tips for successful thread stem installation
– Correct thread size: Ensure that you select a threaded stem with the appropriate thread size and pitch to match the threaded insert or socket.
– Tightening torque: Use a torque wrench or appropriate tools to tighten the stem to the recommended torque, ensuring a secure fit without overtightening.
– Regular inspections: Periodically check the threaded stem and its engagement with the insert or socket, making sure it remains secure and tight.
– Lubrication: Apply a light coating of lubricant on the threads of the stem to facilitate smooth installation and prevent galling or seizing.
V. Caster Mount Plate
Definition and basic concept
Swivel plate installation is a widely used method for attaching casters to equipment or furniture. It involves a swivel plate that is secured to the bottom of the object, allowing the caster to rotate freely in any direction. This installation method provides excellent maneuverability and versatility.
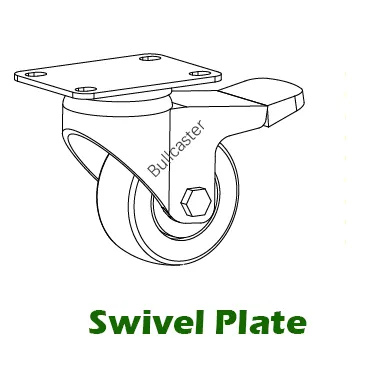
Description of the process
1. Preparing the surface: Start by ensuring that the surface of the equipment or furniture is clean and free from any debris or obstacles that may interfere with the installation process.
2. Aligning the swivel plate: Place the swivel plate onto the surface, positioning it in the desired location for caster attachment. Ensure that the mounting holes on the plate align with the pre-drilled holes or markings on the surface.
3. Attaching the swivel plate: Secure the swivel plate to the surface by inserting and tightening screws or bolts through the mounting holes. Use appropriate tools to ensure a tight and secure fit.
4. Attaching the caster: Once the swivel plate is securely attached, attach the caster to the swivel plate by aligning the caster’s mounting holes with the corresponding holes on the plate. Insert and tighten screws or bolts to secure the caster to the plate.
Benefits and considerations
Swivel plate installation offers several benefits:
– 360-degree rotation: Swivel plate installation allows the caster to rotate freely in any direction, providing excellent maneuverability and flexibility.
– Stability and weight distribution: Swivel plates distribute the weight of the object evenly, ensuring stability and minimizing the risk of tipping or uneven movement.
– Easy replacement: Swivel plates make it convenient to replace casters when needed, allowing for quick and simple maintenance or upgrades.
Considerations for swivel plate installation:
– Mounting hole compatibility: Ensure that the mounting holes on the swivel plate align with the pre-drilled holes or markings on the surface to achieve a proper fit.
– Load capacity: Confirm that the swivel plate and caster combination can handle the expected weight and load requirements of the application.
– Clearances and obstructions: Consider any clearances or potential obstructions that may affect the swivel movement of the caster, ensuring smooth rotation without interference.
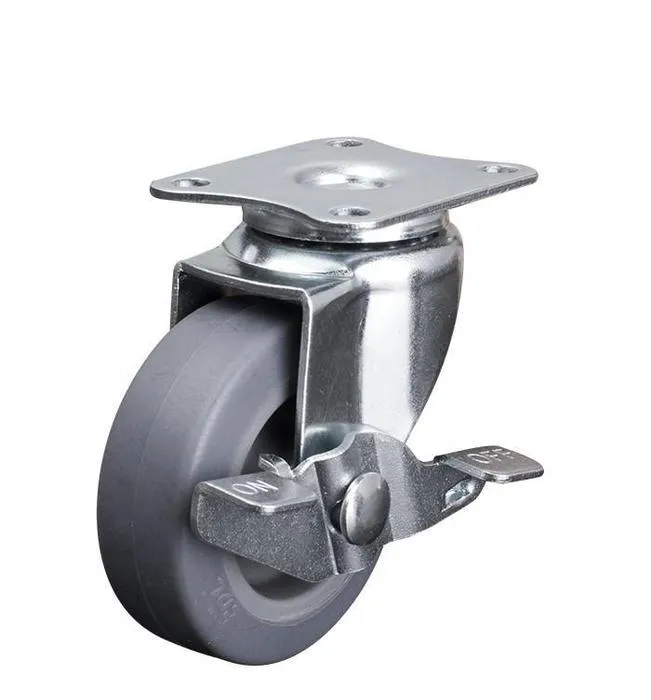
Suitable applications
Swivel plate installation is commonly used in various applications, including:
– Carts and dollies: Mobile carts, dollies, and transport equipment benefit from the maneuverability and rotation capabilities provided by swivel plate installation.
– Industrial equipment: Swivel plate installation is suitable for industrial machinery and equipment that require frequent repositioning and mobility.
Tips for successful swivel plate installation
– Proper alignment: Ensure accurate alignment of the swivel plate with the mounting holes on the surface to achieve optimal caster performance and stability.
– Secure fastening: Use high-quality screws or bolts and appropriate tools to securely fasten the swivel plate to the surface and the caster to the plate.
– Regular inspections: Periodically check the swivel plate and caster attachments for any signs of loosening or wear. Retighten as necessary to maintain a secure connection.
– Lubrication: Apply a suitable lubricant to the swivel plate’s rotating components to ensure smooth movement and prevent excessive friction.
VI. Expansion Rod Installation Caster Wheel
Definition and basic concept
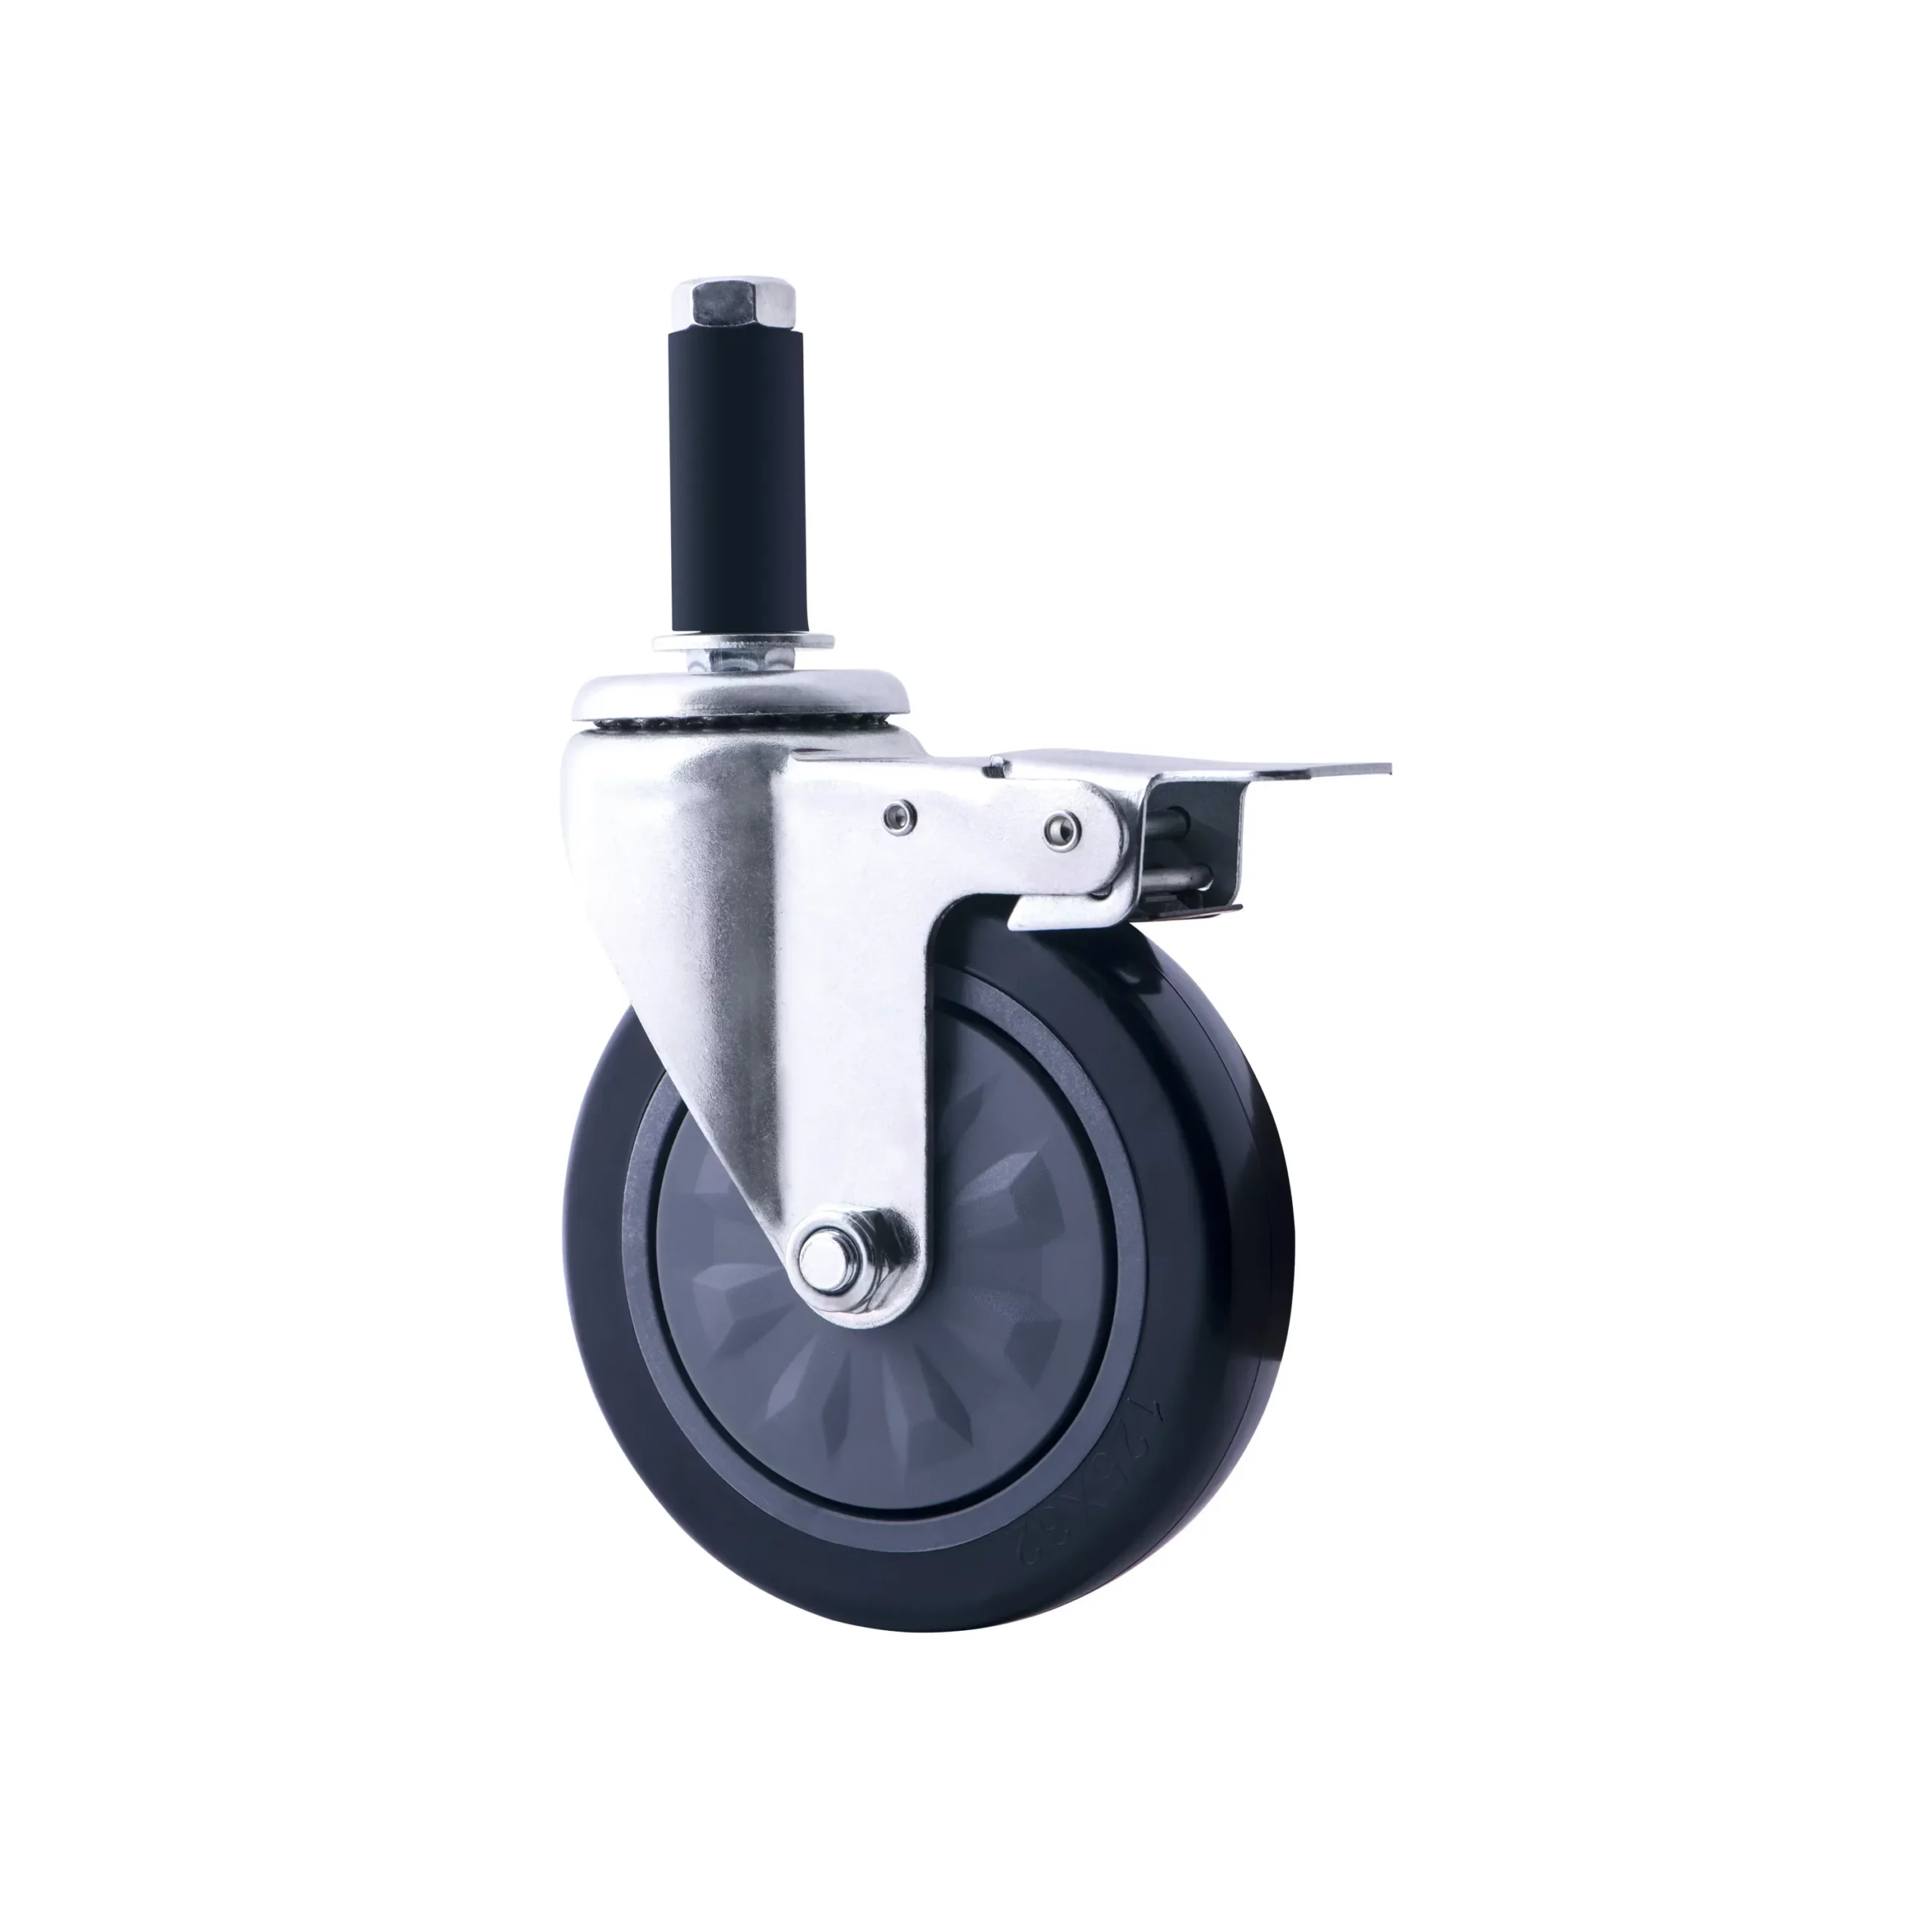
Expansion rod installation is a method used to attach casters to equipment or furniture by inserting an expansion rod into a hollow tube or socket. The expansion rod is designed with a tapered end that expands when tightened, creating a secure and stable connection. This installation method provides a reliable attachment while allowing for easy removal or repositioning of the casters.
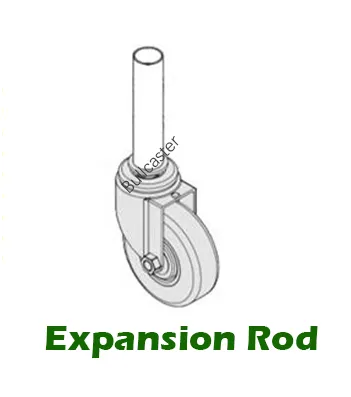
Description of the process
1. Preparing the socket: Start by identifying the location on the equipment or furniture where the socket or hollow tube for the expansion rod will be installed. This may involve drilling a hole or using an existing socket.
2. Inserting the expansion rod: Insert the tapered end of the expansion rod into the socket or hollow tube. Push it in until it is securely in place.
3. Tightening the rod: Using a wrench or appropriate tool, tighten the expansion rod by turning it clockwise. As it is tightened, the tapered end expands, creating a secure fit within the socket.
4. Attaching the caster: Once the expansion rod is securely in place, attach the caster by aligning the caster’s mounting holes with the corresponding holes on the expansion rod. Insert and tighten screws or bolts to secure the caster to the rod.
Benefits and considerations
Expansion rod installation offers several benefits:
– Secure attachment: Expansion rods provide a strong and reliable attachment, ensuring stability and preventing accidental dislodgement of the casters.
– Easy removal and repositioning: Expansion rods can be loosened and removed, allowing for easy replacement or repositioning of the casters as needed.
– Load distribution: Expansion rod installation allows for even distribution of weight, reducing strain on the equipment or furniture.
Considerations for expansion rod installation:
– Socket compatibility: Ensure that the expansion rod and socket are compatible in terms of size, shape, and load-bearing capacity.
– Socket material and strength: Verify that the socket or hollow tube is made of sturdy material capable of withstanding the weight and load requirements of the application.
– Proper tightening: Avoid overtightening the expansion rod, as it may cause damage to the socket or result in excessive strain on the equipment or furniture.
Suitable applications
Expansion rod installation is commonly used in various applications, including:
– Workbenches and tables: Expansion rod installation provides a secure attachment for casters on workbenches, tables, and other furniture that require mobility and occasional repositioning.
– Tool cabinets and storage units: Cabinets and storage units benefit from expansion rod installation, allowing for easy movement and rearrangement when organizing tools and equipment.
– Mobile stands and displays: Expansion rod installation is suitable for mobile stands and displays used in trade shows, exhibitions, and retail environments.
Tips for successful expansion rod installation
– Correct rod size: Ensure that you select an expansion rod with the appropriate size and taper to match the socket or hollow tube.
– Tightening torque: Use a torque wrench or appropriate tool to tighten the expansion rod to the recommended torque, ensuring a secure fit without overtightening.
– Regular inspections: Periodically check the expansion rod and its connection with the socket for any signs of loosening or wear. Retighten as necessary to maintain a secure attachment.
– Lubrication: Apply a small amount of lubricant to the expansion rod and socket interface to facilitate smooth tightening and removal.
VII. Conclusion
In this article, we have explored five different installation methods for casters:
1. Bolt Hole: This method involves attaching casters using bolt holes on the mounting plate, providing a secure and permanent attachment.
2. Circlip: Circlip installation utilizes circular metal fasteners with protrusions that fit into grooves on the caster’s mounting plate, allowing for easy removal and replacement.
3. Thread Stem: Thread stem installation involves screwing a threaded stem into a corresponding threaded insert or socket, offering a strong and adjustable attachment.
4. Swivel Plate: Swivel plate installation uses a plate secured to the equipment or furniture, allowing the caster to rotate freely in any direction for optimal maneuverability.
5. Expansion Rod: Expansion rod installation entails inserting a tapered rod into a hollow tube or socket, creating a secure and stable connection that can be easily removed or repositioned.
When installing casters, it is essential to carefully evaluate the requirements of your equipment or furniture to determine the most suitable installation method. Consider factors such as грузоподъемность, maneuverability, maintenance needs, and the flexibility to adapt to future changes.
Additionally, it is recommended to follow manufacturer guidelines and recommendations for installation, as they can provide valuable insights into the specific requirements and best practices for each installation method.
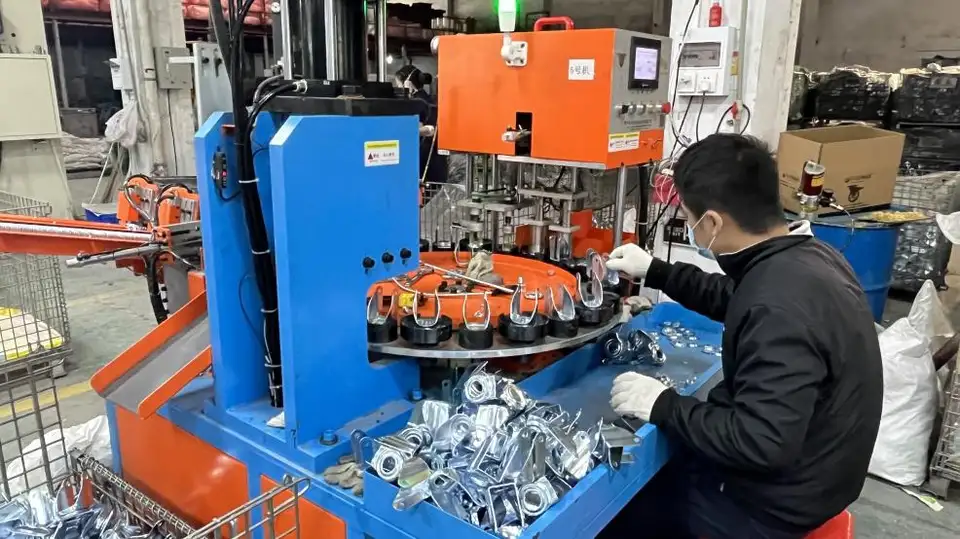
Bullcaster can provide you with casters in various installation ways, contact us for a quotation and samples of casters.


